Complete guide for using Student List in the school management system.
Student List Page Guide
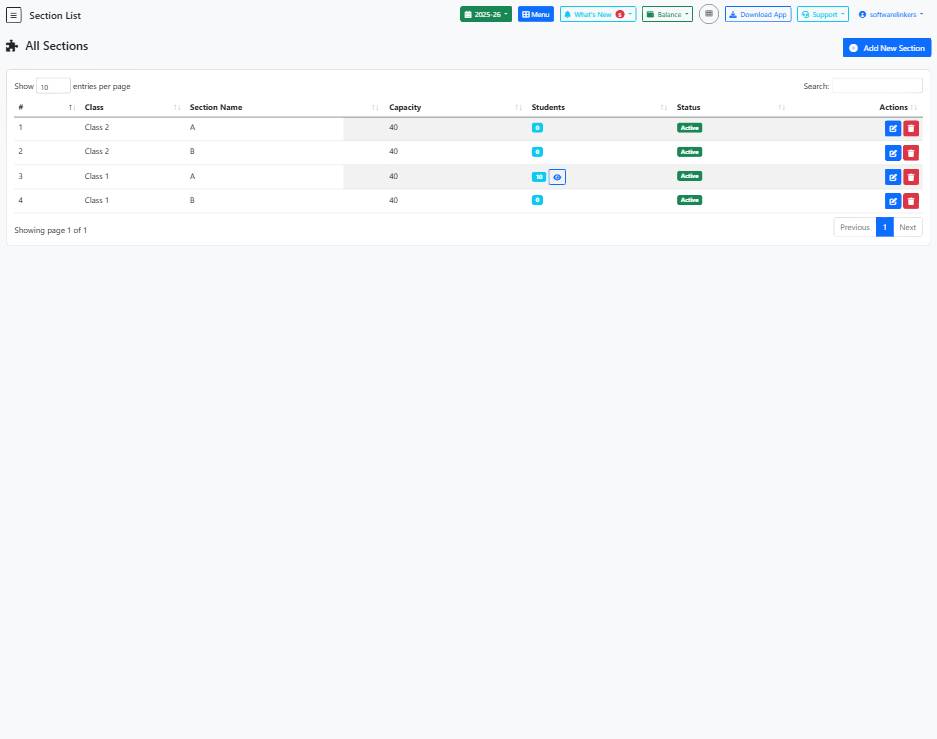
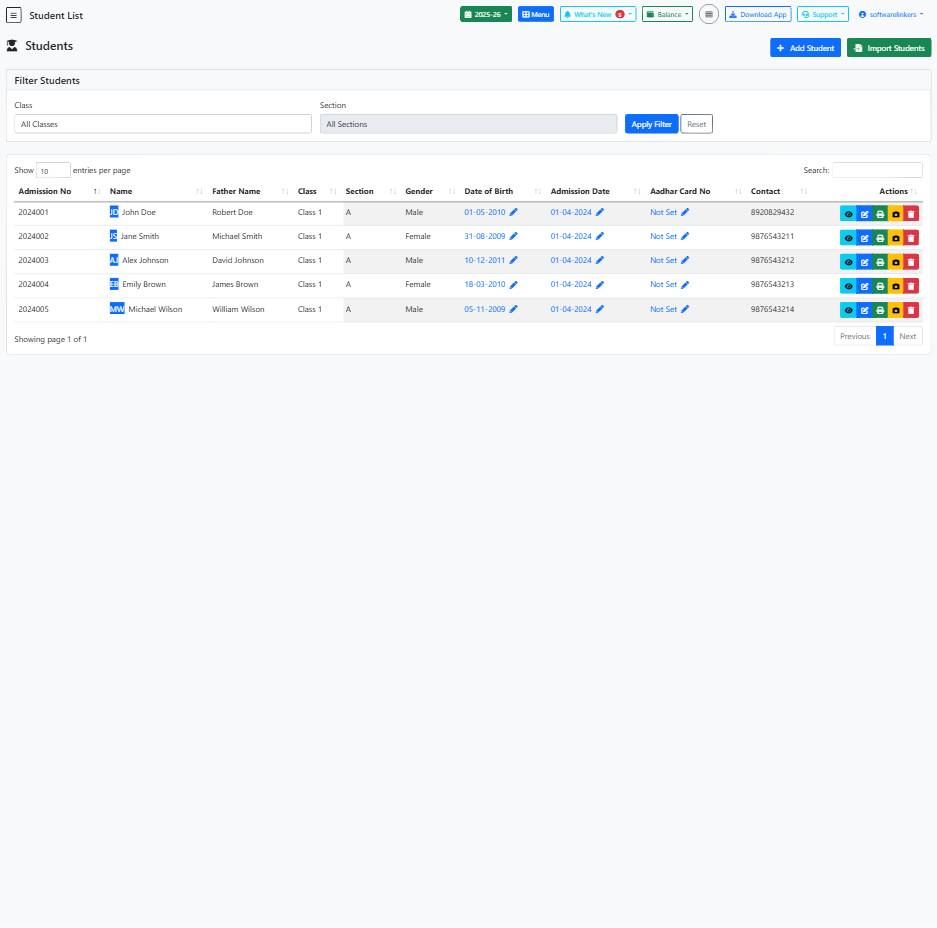
This guide provides instructions on how to manage student lists, add students, apply filters, and delete students on the Student List page.
📋 Step-by-Step Instructions
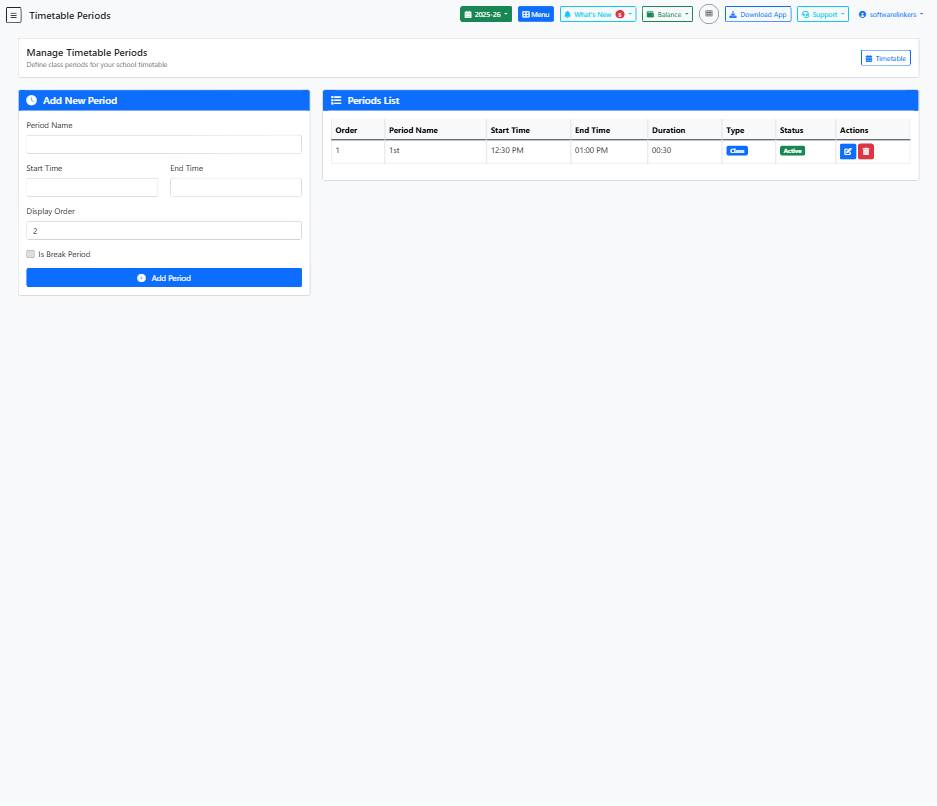
- Select a Class from the dropdown menu.
- Choose a Section from the dropdown menu.
- Set the number of entries to display using the DataTables_Table_0_length dropdown.
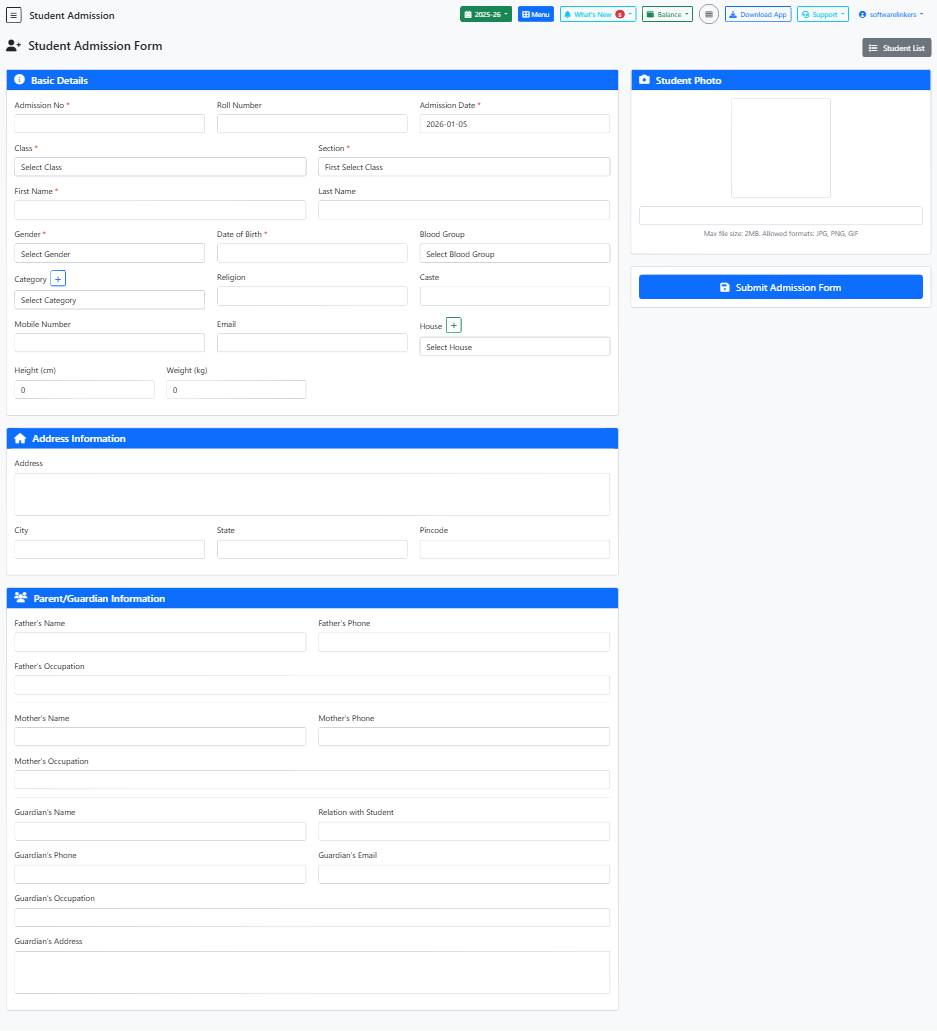
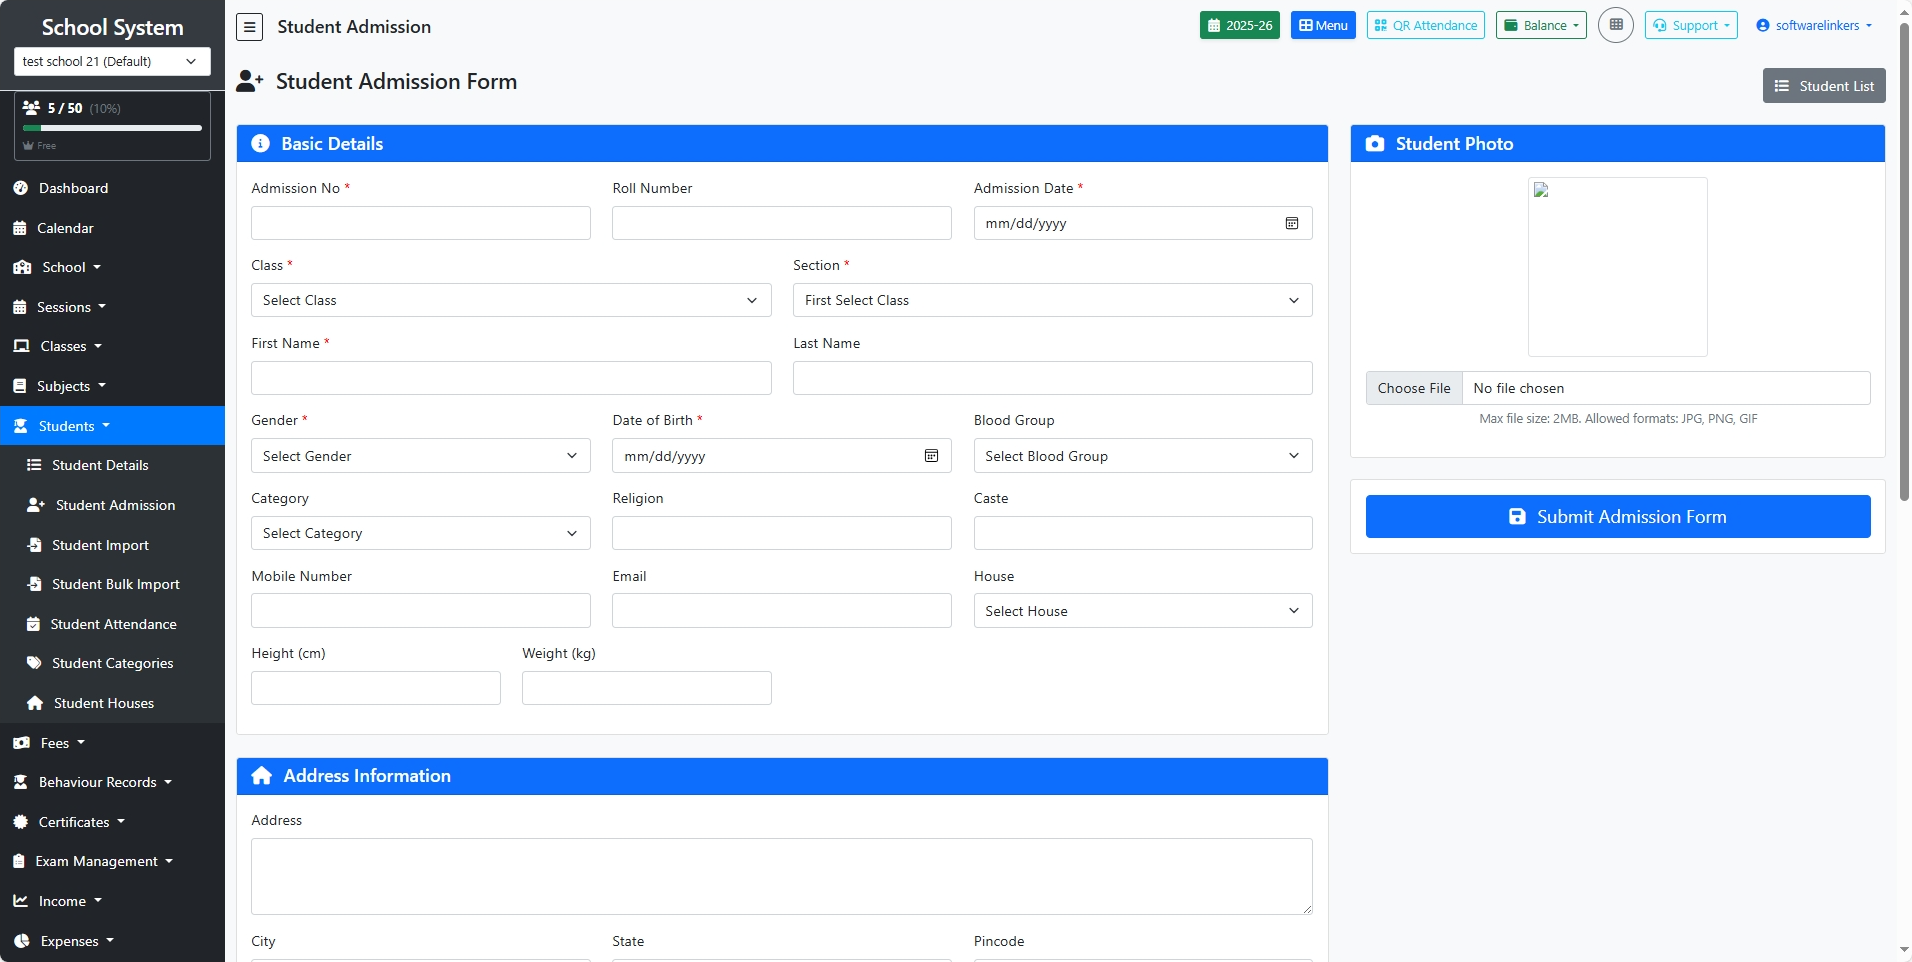
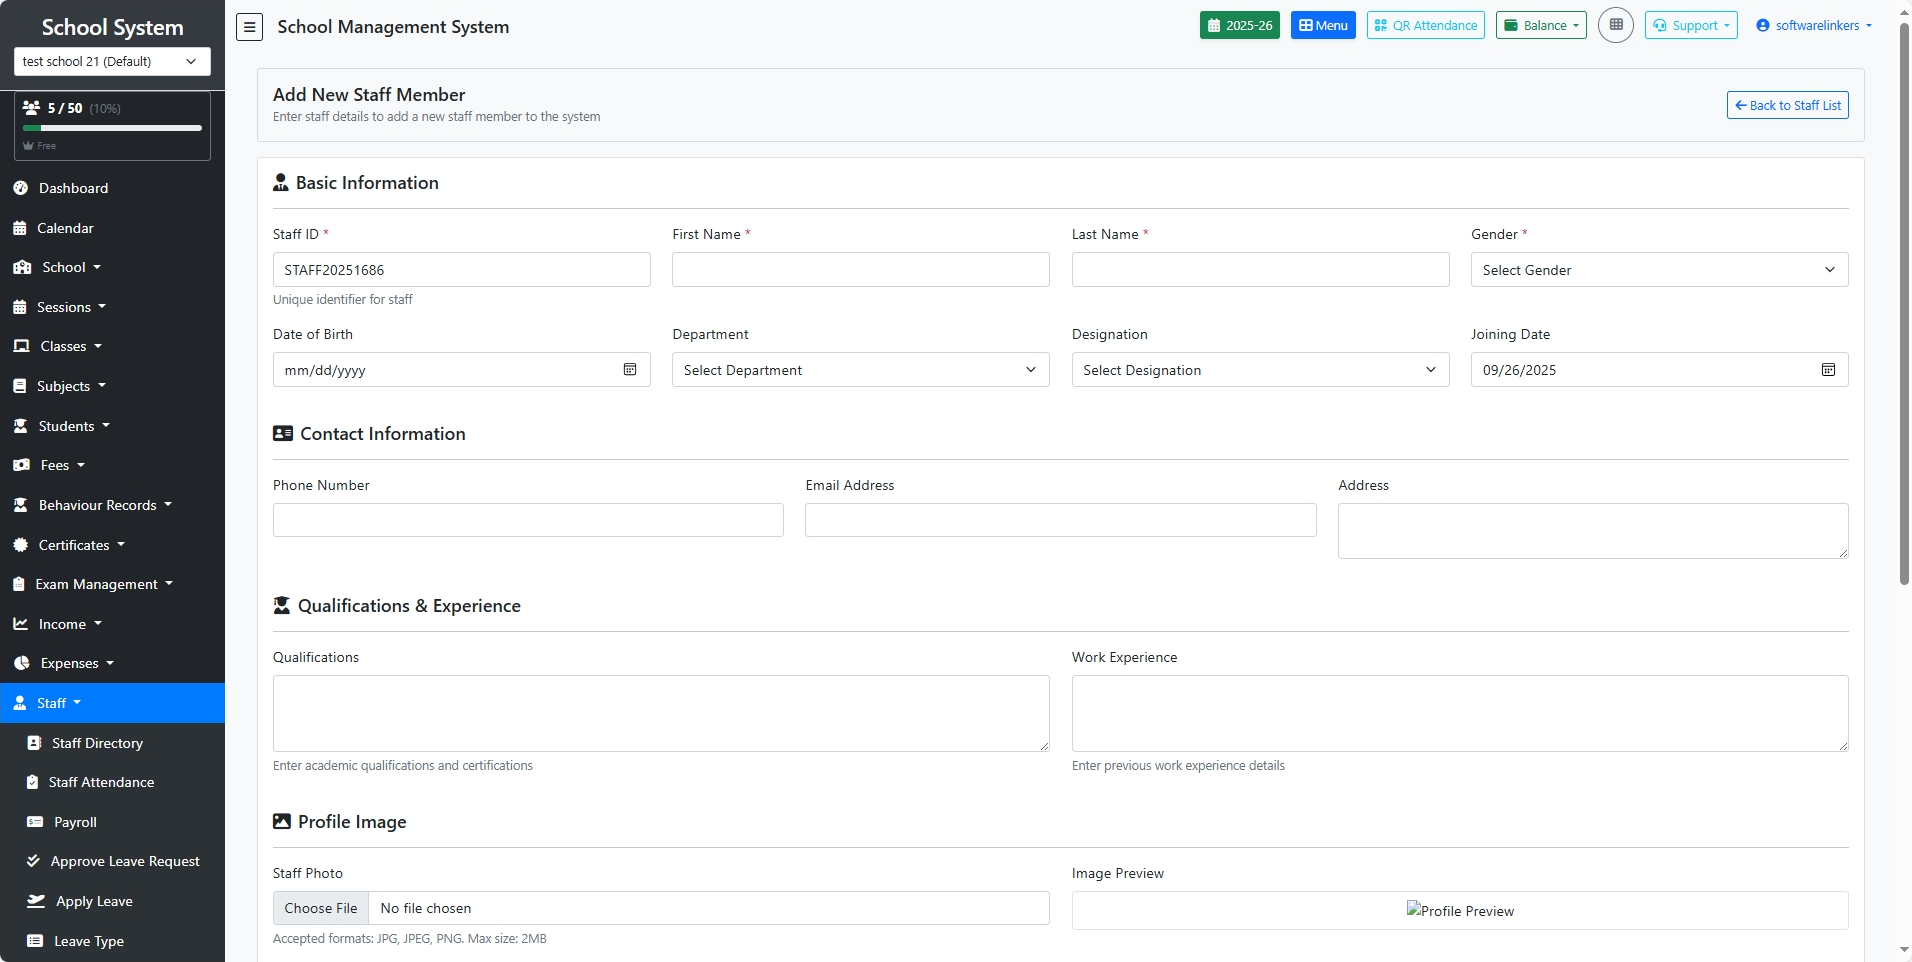
- Enter a student's details in the text and textarea fields.
- Check the checkbox if needed.
- Click on the 'Apply Filter' button to filter students based on the selected criteria.
- Use the 'Delete Student' button to remove a selected student from the list.
- Click on 'Add Student' to add a new student.
- Utilize the 'Start Camera' button for tasks involving camera functionality.
💡 Helpful Tips
- Ensure to select the appropriate Class and Section to filter the student list effectively.
- Use the search bar to quickly locate specific students by their details.
- Click on the 'Reset' button to clear any applied filters and start fresh.
⚠️ Important Notes
- Be cautious while deleting students as this action cannot be undone.
- Fill in the required fields accurately to avoid data entry errors.
- Verify all details before adding a new student to ensure data accuracy.