School Management System
1219 views
Student Management Guide
Complete guide for managing Student details, Student admission, Student import, Student bulk import, Student attendance, Student qr code attendance, Student categories, Student house
Published on September 14, 2025 • Updated on June 16, 2026
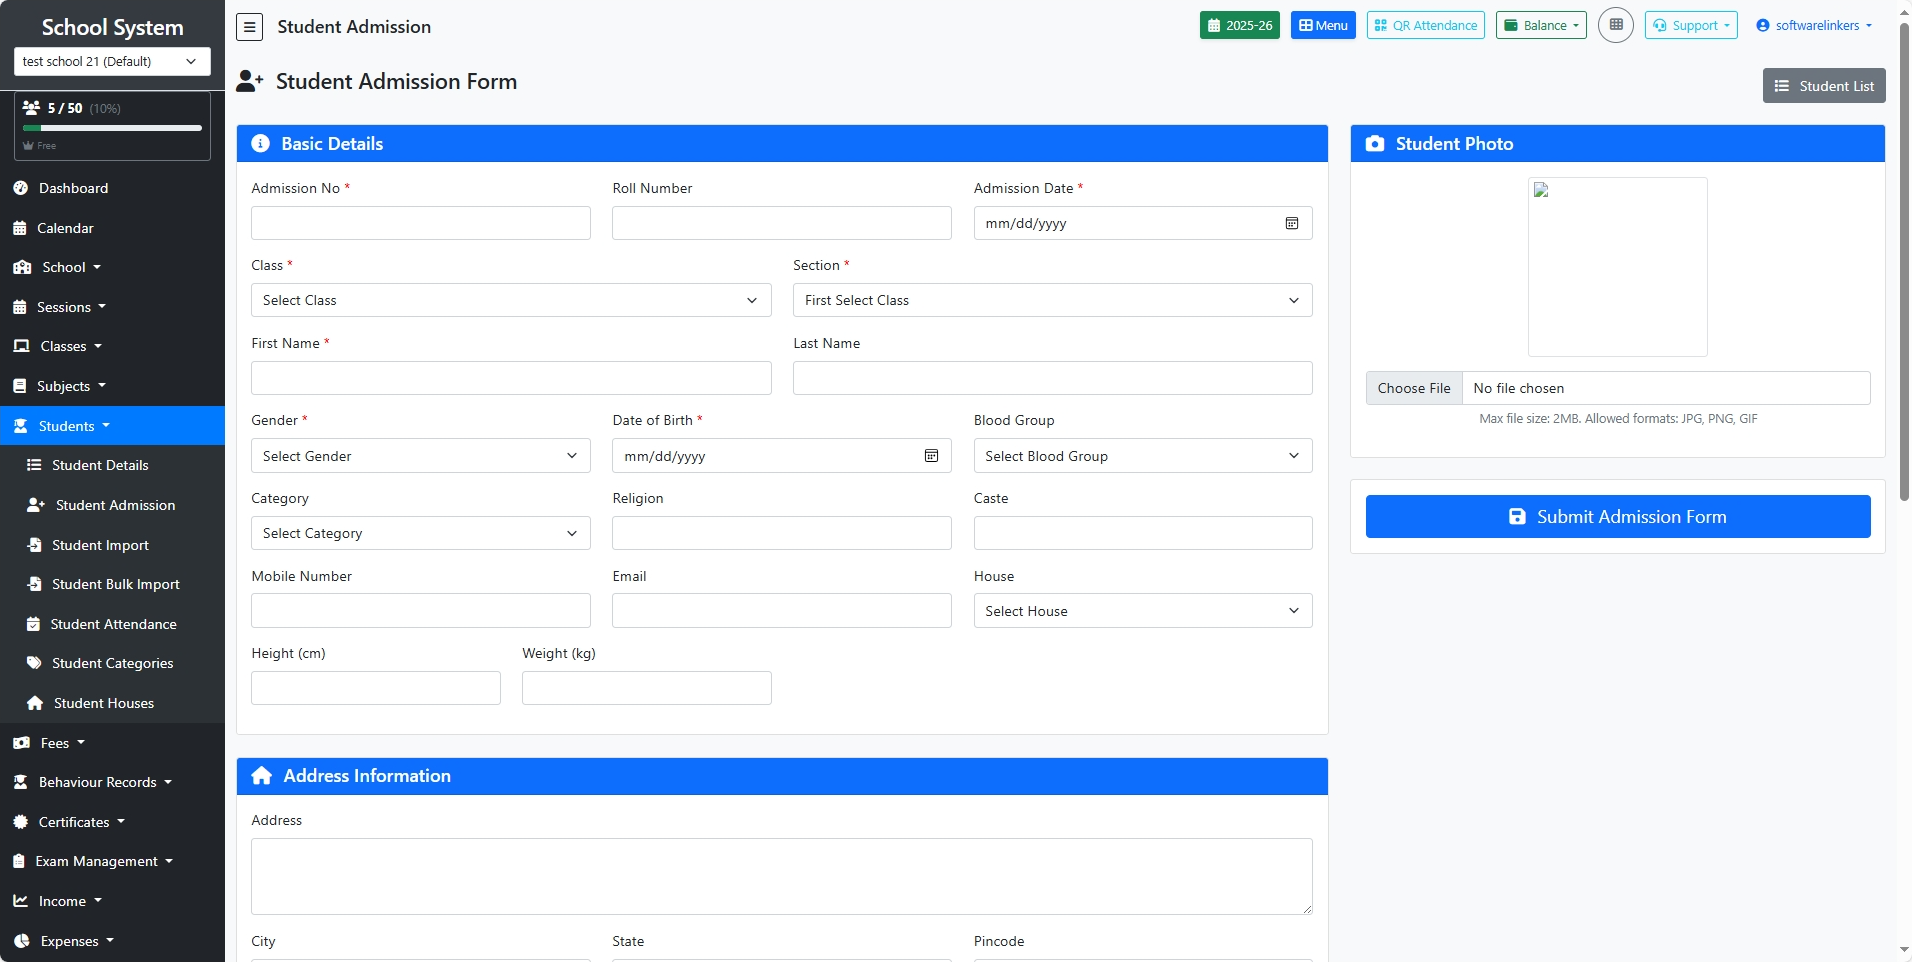
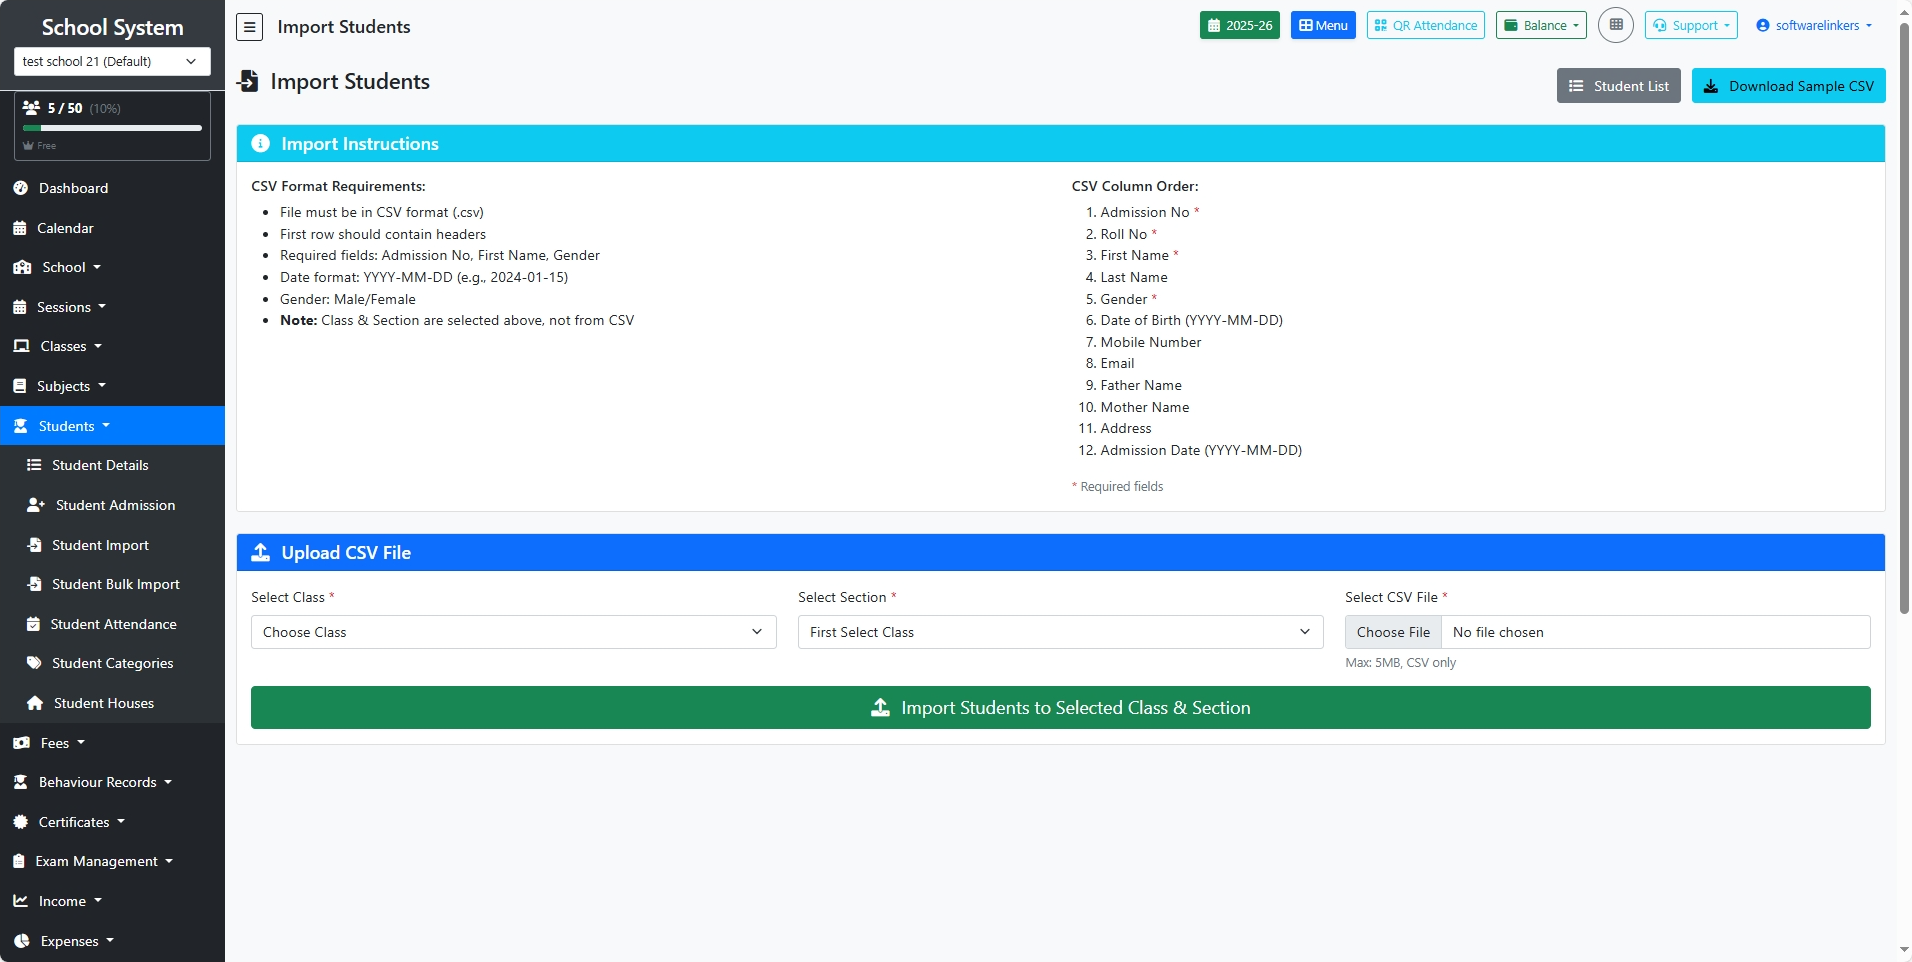
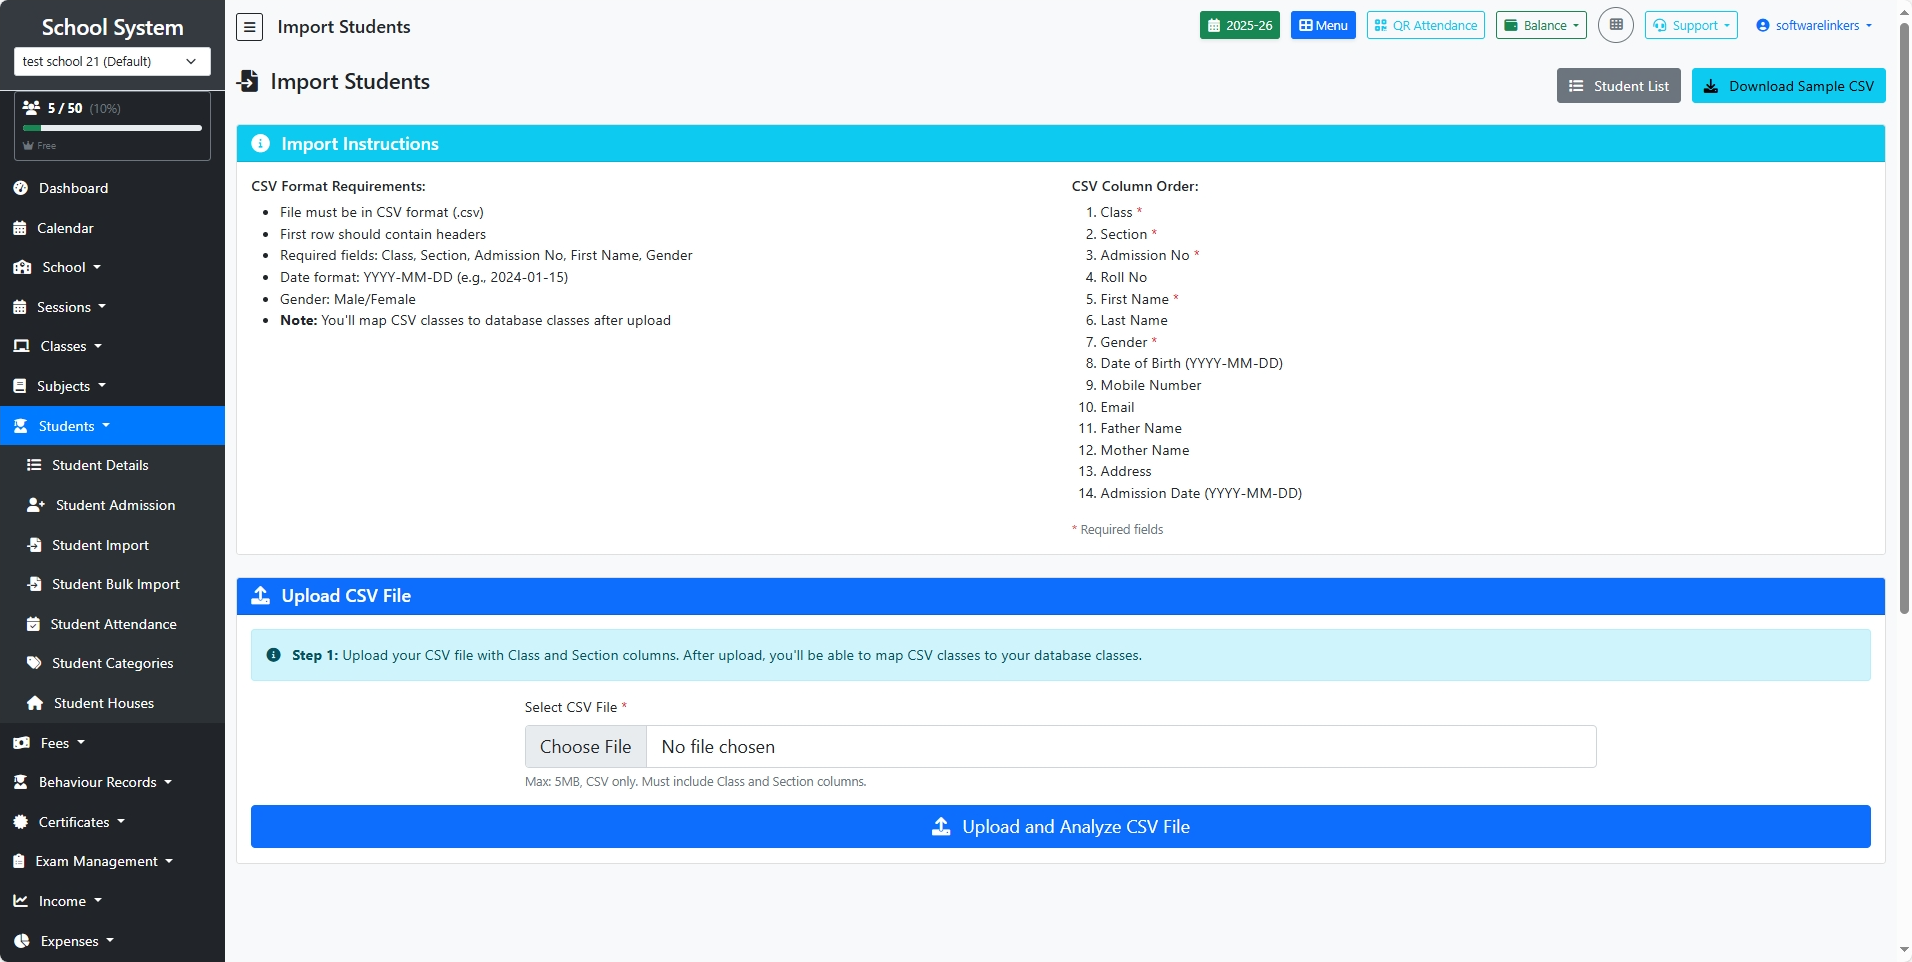
Student Management
Manage all aspects of student information including admissions, academic records, attendance, and more.
Key Features:
- Student details
- Student admission
- Student import
- Student bulk import
- Student attendance
- Student qr code attendance
- Student categories
- Student house