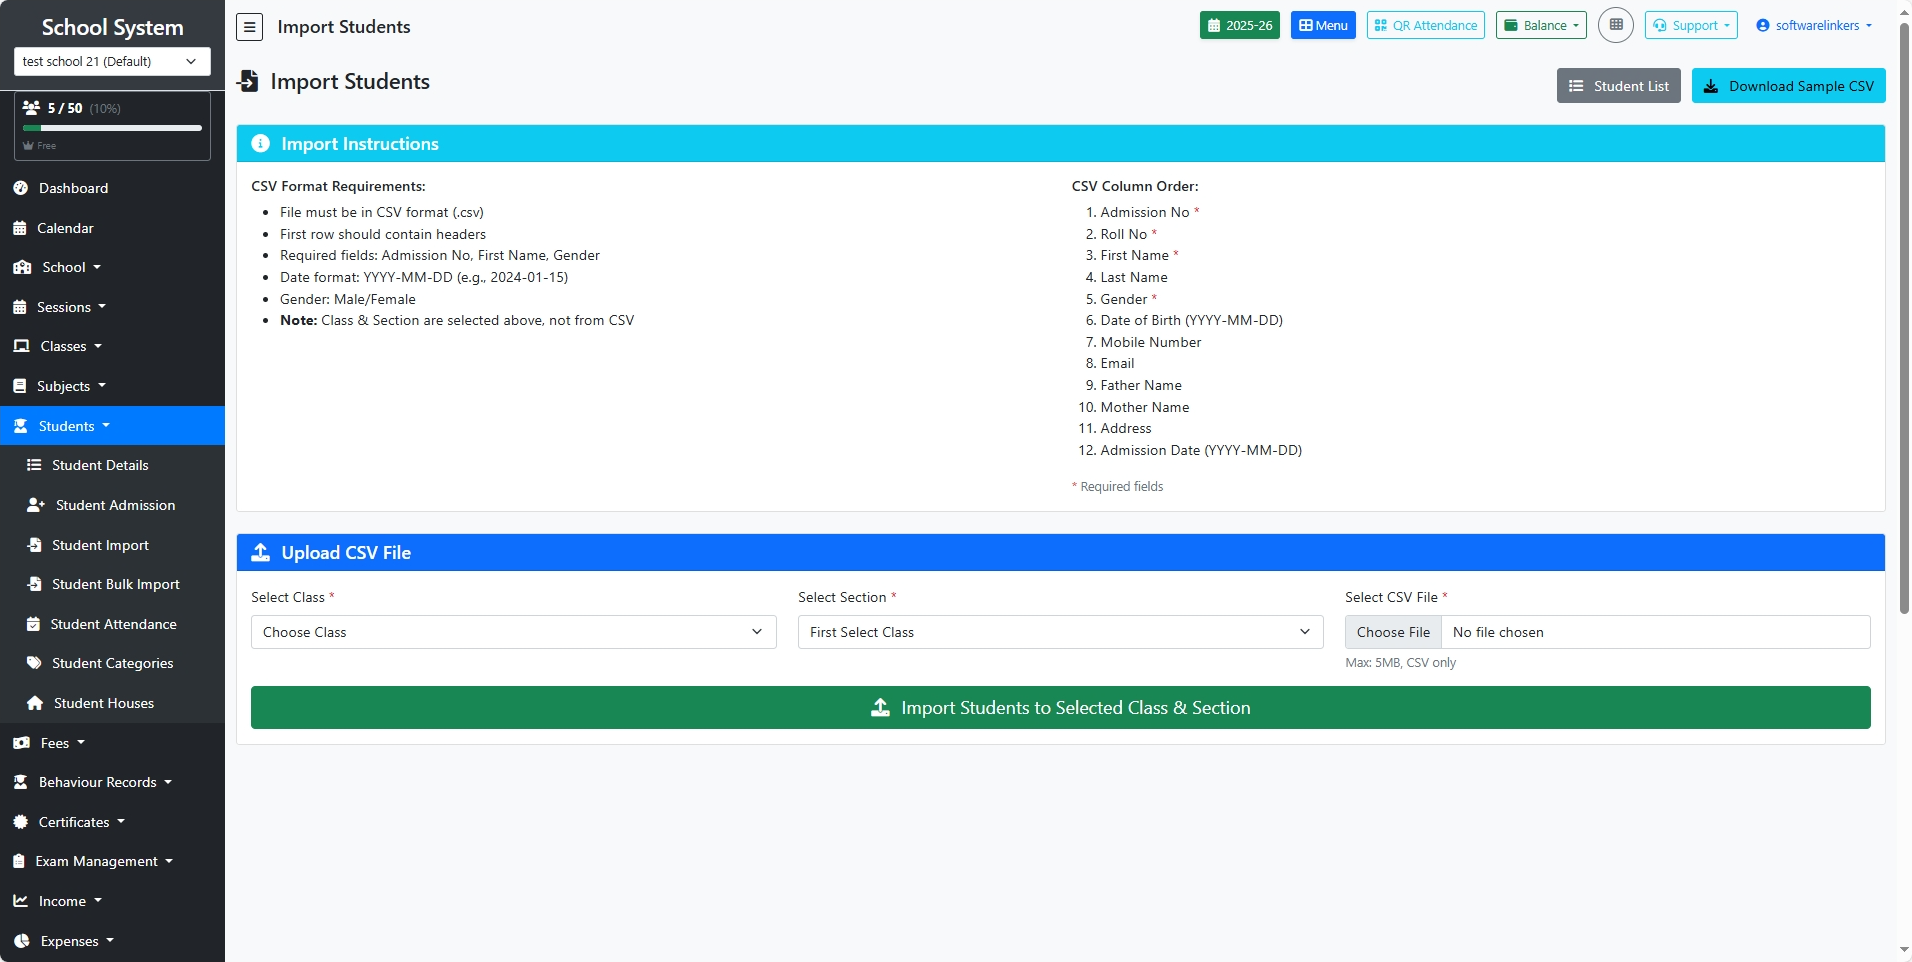
📘 Steps to Import Students
1. Download Sample CSV
-
Click the “Download Sample CSV” button.
-
Open the file in Excel/Google Sheets to see the correct column format.
2. Prepare Your Student Data
-
Enter student details in the same column order:
-
Admission No (required)
-
Roll No (required)
-
First Name (required)
-
Last Name
-
Gender (Male/Female, required)
-
Date of Birth (YYYY-MM-DD)
-
Mobile Number
-
Email
-
Father Name
-
Mother Name
-
Address
-
Admission Date (YYYY-MM-DD)
-
⚠️ Important Notes:
-
File must be .CSV format.
-
First row must contain headers.
-
Date must be in format YYYY-MM-DD (e.g., 2025-01-15).
-
Class & Section are not in CSV – they will be selected before upload.
3. Save File
-
Save your prepared data as CSV (Comma Delimited) (.csv) file.
-
File size must be less than 5MB.
4. Select Class & Section
-
Go to Students → Student Import.
-
Choose the Class.
-
Select the Section for which you want to import students.
5. Upload CSV File
-
Click Choose File and select your prepared CSV file.
6. Import Students
-
Click the green button “Import Students to Selected Class & Section”.
-
The system will upload the data and assign students to the chosen class and section.
7. Verify Import
-
After import, click Student List to check that all students have been added correctly.